Mailchimp Guide | Landing pages for beginners
Introduction To Mailchimp Landing Pages
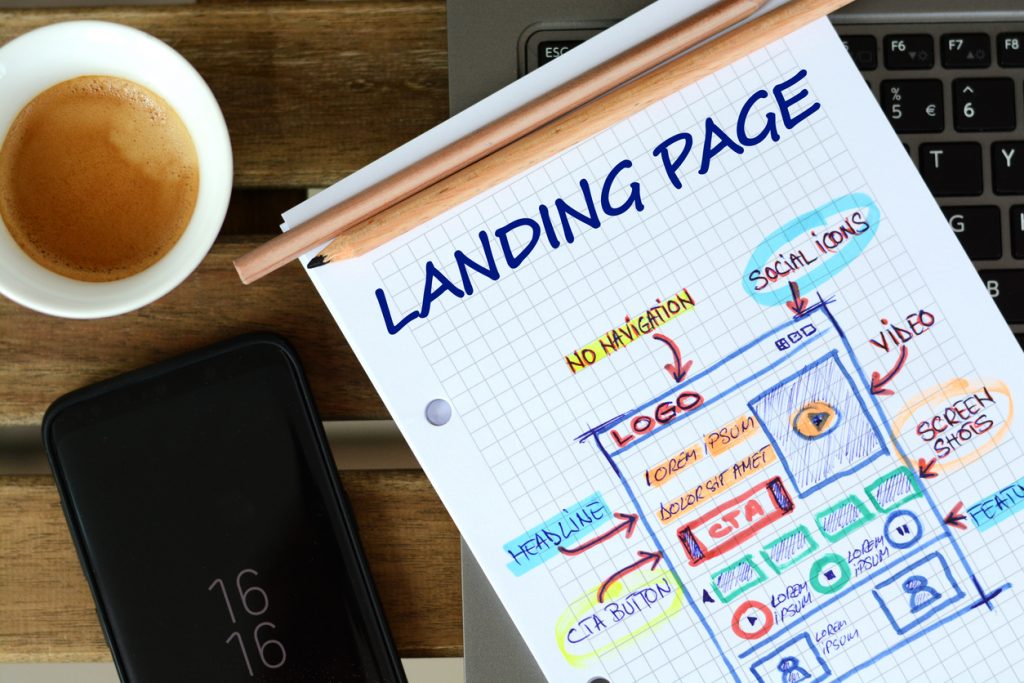
If you want to promote a limited-time offer or sell a specific product, then a landing page would be exactly what you need. It is worth utilizing if you have a specific or short-term goal that you would like to achieve. In essence, landing pages are independent pages that your existing customer or potential leads can “land” on when they click through from an email, ad, social post other advertising sources from the web.
Note: If you are new to Mailchimp our guide to Mailchimp email marketing might be of interest to you.
How It Works
The great thing about landing pages is that can go hand-in-hand with the other campaigns you run on Mailchimp. The best part of it all is that it costs zero to build them so you can build as many as you need when you use Mailchimp. All you need to do is select your template and use Mailchimp’s exiting landing page builder do add your own personal touch in terms of design and copy.
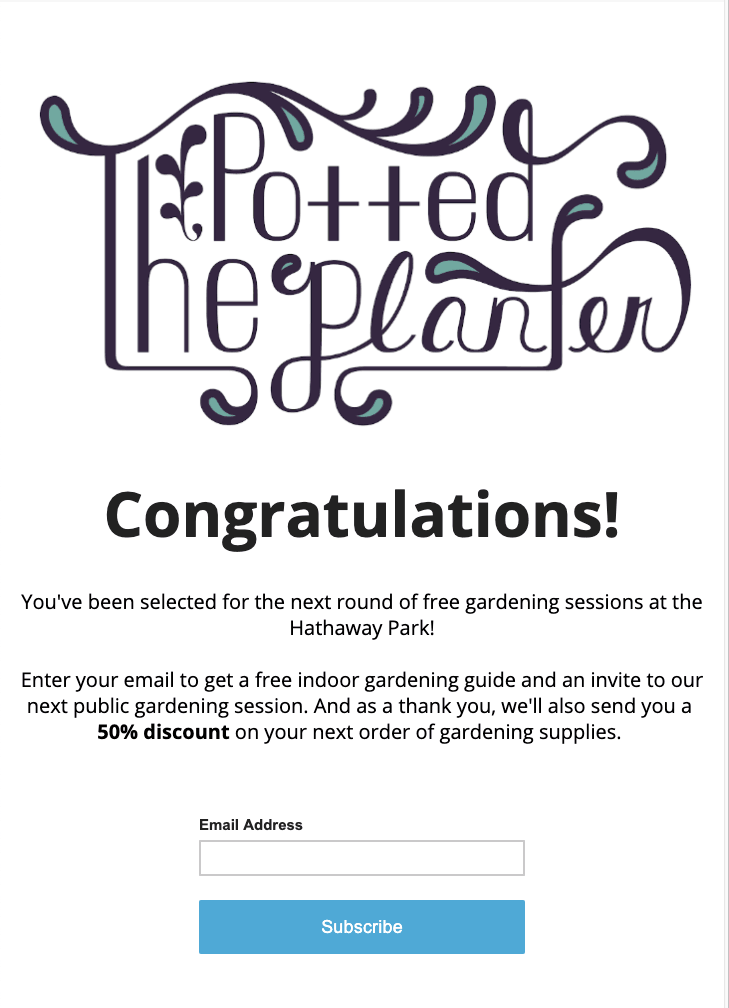
Sample landing page. Source: Mailchimp
When To Use A Landing Page
Web pages have one major flaw: It’s not meant to be sale-sy and win customers over. There is too much information which can be overwhelming for new customers, and it does not guide prospects through the marketing funnel.
This is where a landing page comes in handy. Its messaging is specific and tailored with a goal in mind – to convert. Besides, it is easier to optimize and run A/B tests on those pages as compared to a website.
Here are five examples of when you can utilize a landing page:
- Use it to drive people to a particular event. They can sign up on the page itself.
- Use it to promote a new product launch
- To promote a free eBook.
- Use it in an ad, PPC or offline to lead customers to a place to get more information.
- Or to run a limited-time offer for your products.
With Mailchimp, you can use your landing pages with other campaigns, share them on social media, and tag contacts to sign up as well.
Types of Landing Page Templates
With Mailchimp, you will have two categories of templates to choose from: basic and themed. Both of which uses a drag-and-drop editor that is user friendly so you can add, remove or customize the blocks for your content. The landing page is mobile-responsive as well so your design will look great on any device.
Basic templates
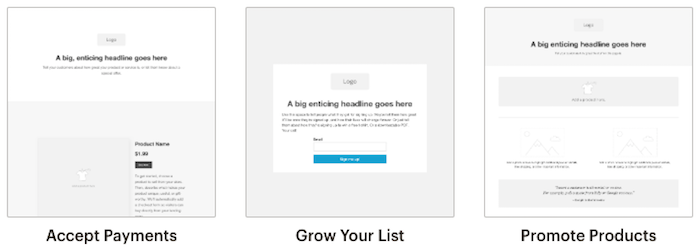
You may opt for Mailchimp’s basic template if you prefer working with a blank landing page layout. All of the templates feature a special logo placeholder which pulls your default brand logo automatically. The basic template options consist of:
1. Accept Payments
It features a payment content block that syncs with items in your Square account so visitors can make payment via debit or credit card without having to exit your landing page.
2. Grow Your List
This template comes with a signup form content block to encourage visitors to sign up to your newsletter or offer. You can also segment by signup source to target those who subscribed to your landing page offer.
3. Promote Products
Equipped with a product content block, this template can be used to to promote a product or service, or even advertise a sale. Simply insert a product from your store, edit the page to include your branding and you are ready to go.
Themed templates
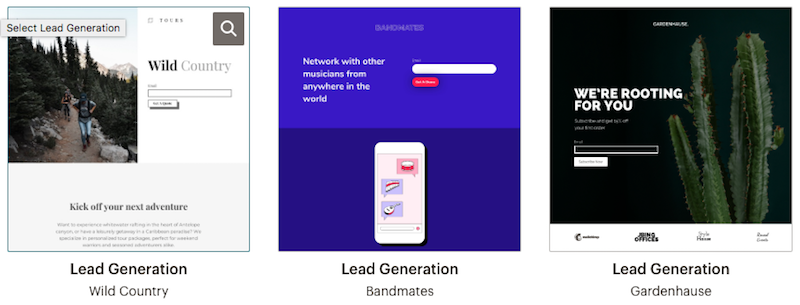
If you are in need of some design inspiration then the themed templates can get your creative juices flowing. All of the themed templates include a placeholder and are all editable. One thing in common is that all of the templates have a sign up form content block. Other than that, all the blocks on the pages can be removed or edited the way you like.
How To Create A Landing Page With Mailchimp
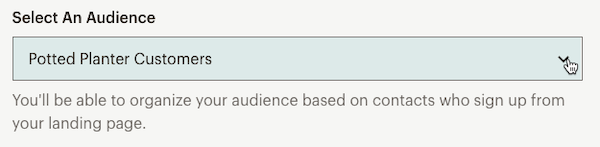
To begin, start by naming your new landing page and choosing your audience – if your landing page has a signup form, the new subscribers will be added to this audience.
Here are the steps to create your own landing page:
1. Click the “Create” icon
2. Then click on “Landing Page”
3. Name your landing page for your own reference (it is not visible to the public)

4. Select your audience
5. Click “Begin”

Here are the steps to create design your own landing page:
1. Select the template you want to use
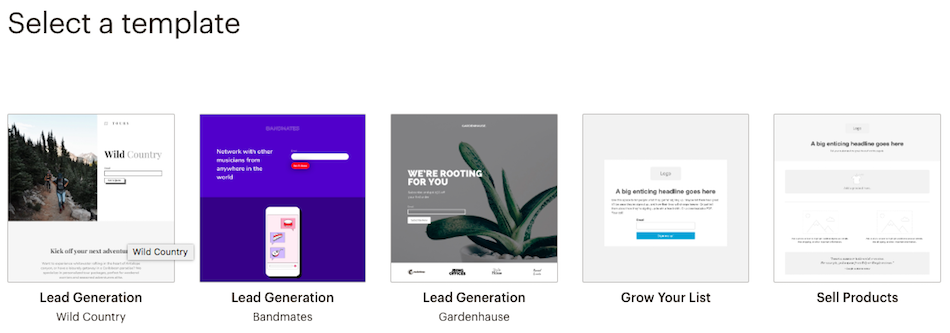
2. Once you have selected your template, customize the content blocks according to what your goals are. If you need some inspiration, Mailchimp has some great design tips here.
3. Click “Preview” in the upper-right corner to see what your page will look like before you publish it.
4. Click “Save & Close” once you have previewed your design and you are happy with it.

5. Once you have saved your design, add a page title, URL, and tags if required. Be sure to always review your settings and tracking.
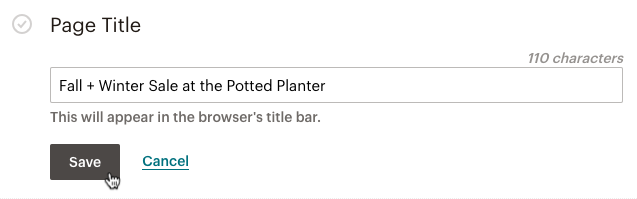
Adding a page title
Once you have completed the steps above, you will then pick a page title – this title will appear in visitors’ web browsers so it is important to make sure the title describes the content aptly.
Follow the steps below to add a page title.
1. Go to “Page Title” in the section of the landing page builder and click “Add Page Title.”

2. Type what you want visitors to see and click “Save.”
Adding a URL
URLs are free to create using the Mailchimp domain. Simply customize your Landing Page URL with a domain you have connected or purchased in Mailchimp.
Follow the steps below to add a URL for your landing page.
- Click “Add URL” in the URL section of the landing page.
- Select “Use custom domain” or “Use Mailchimp domain.”
- Depending on what you select, type the rest of the URL in the available field then click “Save” when you have finished.

Editing audience and tags
Confirm or change your audience associated with your landing page in this section. If your landing page includes a sign up form, you can add up to give tags to any contact who subscribes through the landing page.
1. Click “Edit” in the “Audience and Tags” section of the landing page builder. If your lander does not include a sign up form, it will just be labeled as “Audience”.

2. Confirm your audience (It can be changed before you publish it).
3. Choose up to five tags when you click on the “Plus (+) icon” on the tags menu and click “Save” once you are done.

Editing settings and tracking
You can add Track with Mailchimp, Facebook Pixel, or Google Analytics on your landing page, and Mailchimp will even let you know if reCAPTCHA is enabled. Do note that you would have to agree to Mailchimp’s terms of use before you can use the tracking feature.
Follow these steps to edit the tracking options for your landing page.
1. Go to the “Settings & Tracking” section and click “Edit.”
2. Click “Accept” if you agree to Mailchimp’s terms and conditions.
3. Check the boxes next to the tracking options you would like to enable then click “Save.”
Immediately after publishing your landing page, Mailchimp will start gathering data as people visit and interact with your page.
Publishing your landing page
Once you have everything in place, hit the “Publish” button.

Your page will be live as soon as you hit the publish button. However, no one will see it until you have shared the link with your customers.
Managing your landing pages
You can still edit, unpublish, or delete your landing pages once you have published it. Just follow the steps below.
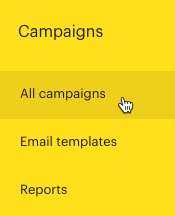
1. Click the “Campaigns” icon.
2. Click “All campaigns”.

3.Click the “Current audience” option at the drop-down and choose the one related to your landing page if you have more thanone audience.
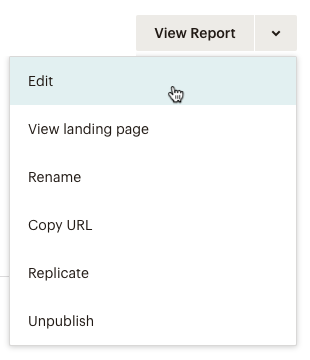
4. Click “Edit” from the drop-down menu for the page you want to work with and make the changes you would like.
5. Click “Save and Publish” once you are done.
How to unpublish your landing pages
Want to discard your landing page and publish a new one instead? Simply follow the steps below on how to unpublish it.
1. Click on the “Campaigns” icon.
2. Click “All campaigns”.
3. Click “Current audience” on the drop-down menu if you have more than one audience associated with your landing page.
4. Click “Unpublish” on the drop-down menu for the page you want to work with.
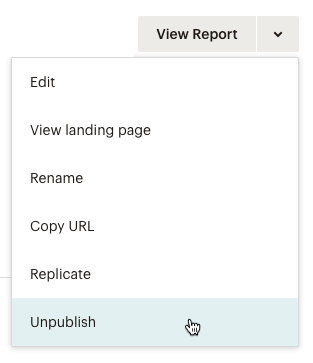
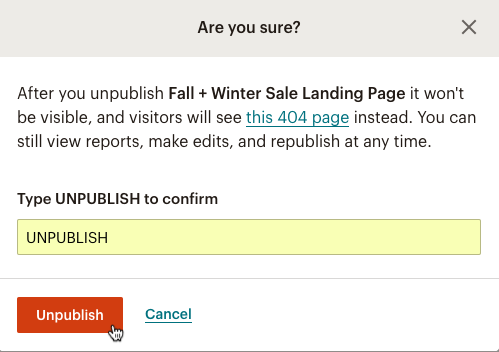
5. Type UNPUBLISH in the pop-up modal and click “Unpublish” and leave the page unpublished, edit and republish it, or delete it.
Deleting your landing pages
We suggest unpublishing your landing page instead of deleting it as deleting it would mean losing all its reporting data. Unpublishing your page and taking it offline will keep it in your Mailchimp account so you can have access to the data.

When you unpublish or delete your landing page, it will display a 404 page not found message for someone who clicks on the URL. However, if you still prefer to delete the page, you may check this article by Mailchimp on how to do so.
How to drive people to your Mailchimp landing page

Here is the fun part – once you have published your page, it is time to drive traffic to it. Here are some things you can do to get the momentum going:
1. Promote your page
Share it with your existing customers by creating a campaign in Mailchimp. You can utilize an automation for your landing page subscribers or customers, run an ad for the landing page, or link it to a regular email campaign. Share the custom URL on all your social media platforms as well.
2. Show ads to your landing page visitors
Utilize unique ads to display your landing page to visitors on Facebook, Instagram, and Google’s Ad Display Network. For those who have visited your landing page but did not take any action, you can create retargetting ads.
3. Target landing page subscribers
With the tags that you implement, you can filter your audience into segments for targetted campaigns – like a welcome series or special offer (depending on your landing page).
Landing page best practices
Now that you have an irresistible offer and a beautiful landing page, you want to be sure that you are set up for success. There is no better way to do that than to implement some best practices.
To make sure your effort does not go to waste, it is crucial that you keep search engines in mind at the beginning of the process. Also known as search engine optimization (SEO), designing it to be SEO friendly will help make your landing page more visible to organic search results and increase the chances of traffic and conversions.
A couple things to keep in mind when making your landing page SEO-friendly:
1. Include long-tail keywords
2. Segment your audience
3. Improve your page loading speed (nothing more frustrating than a page that takes ages to load)
4. Earn backlinks
5. Make your content memorable and shareable
Conclusion
We covered all basics of landing pages in this tutorial. Hopefully this will help all beginners to get started with Mailchimp landing pages.