Mailchimp Guide | How to start email marketing with Mailchimp in 15 mins
Introduction | Mailchimp Guide
Mailchimp Guide: Mailchimp is an Atlanta-based marketing automation company and email marketing service. Mailchimp was established in 2001 and has seen unbelievable development since its inception and has become one of the most popular email marketing software primarily for small businesses. Very recently in 2nd week of September Mailchimp was acquired by Intuit.
While the organization is very known for its sharp-witted and quirky advertisement crusades, it’s additionally an overall incredible automation tool for anyone who’s just starting their business, especially for email marketing beginners.
Like anything in life, the first step is always daunting, but once you get the hang of it, it’s as easy peasy.
In any case, if you are uncertain of where to start, no reason to stress! We have assembled this Mailchimp guide so you can hit the ground running and create email marketing with Mailchimp in 15 minutes. At the end of this blog, you will go from a Mailchimp beginner to an expert.
Mailchimp Features and Pricing
Mailchimp’s “free” account is ideal for small businesses just starting or those simply beginning on their email marketing journey.
You can get a subscriber list of 2,000 and a monthly limit of 12,000 emails you can send out to prospects and customers when you sign up for a free Mailchimp account.
Once you have gotten the hang of things and would like to take things up a notch, you can simply upgrade from a free account to a paying one that offers more features.
The significant part about Mailchimp is that it has three different pricing options within reasonable prices for a small business.
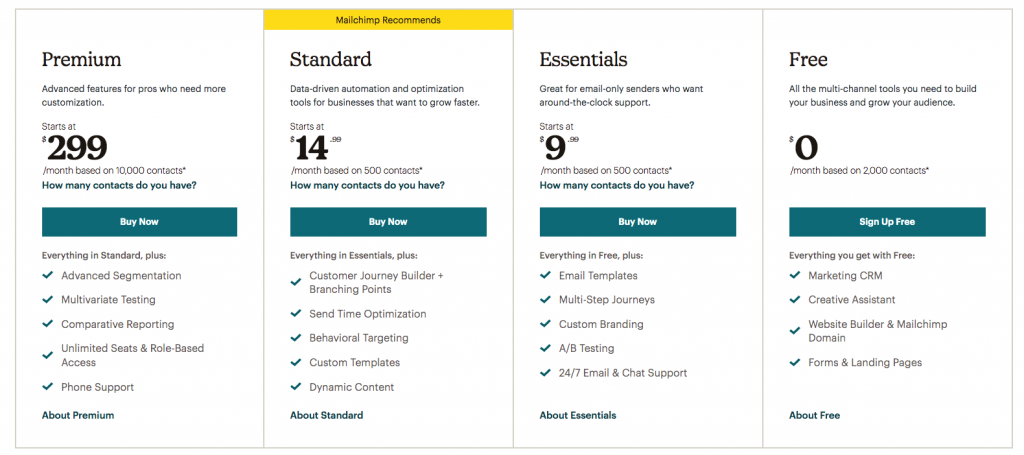
Source: Mailchimp
Why use Mailchimp?
It is easy to use as there is no need to download or install any software on your computer. It is a web-based application so that you can use it on your web browser.
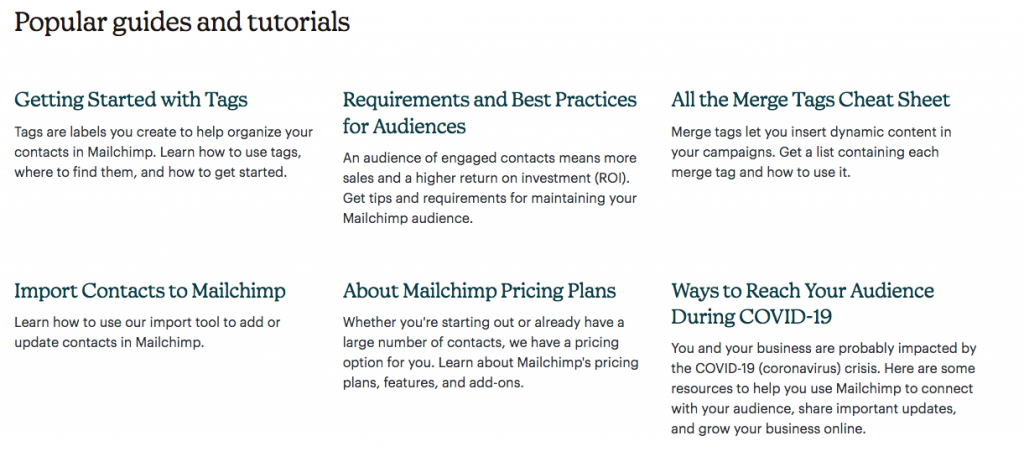
Besides that, it also provides an array of resources for those who are starting can refer to. Their Knowledge Base is filled with how-to’s and insights about their tools and features to learn how something works or for easy reference for troubleshooting.
Mailchimp also makes it stress-free for beginners to start with, as you can start with the free account and work your way up from there as your email lists expand.
Now that you know a bit about Mailchimp, its background, prices, and features, let’s dive into how you can get started.
How to signup for Mailchimp
Create Account
At the point when you make a Mailchimp account, you consent to agree with their Terms of Use and anti-spam regulations. You will have to comply with their terms of use to maintain a positive sending reputation and avoid your account from getting disabled for spamming customers—more on cold emailing here.
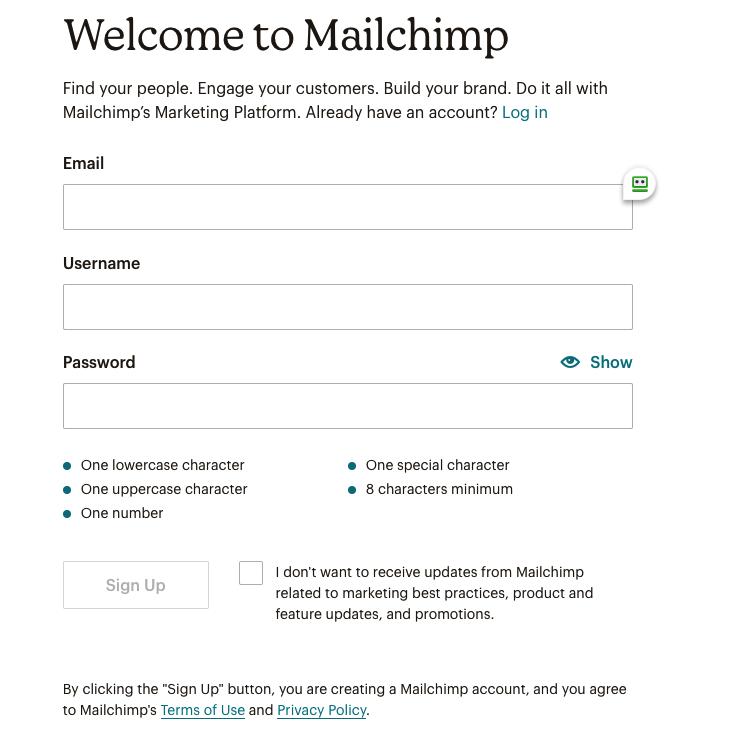
All you have to do to create an account is:
1. Go to Mailchimp’s signup page
2. Fill in your email, username, password and hit that signup button for your free account.
3. Check your inbox for an activation email to complete your account signup.
Activate Account
You will receive the confirmation email from Mailchimp Client Services, and you must click on the email link to activate your account.
This is a precaution by Mailchimp to avoid any spambots, so once you have verified that you are human, it will take you to the signup process.

The Signup Process
Since it will be your first account with Mailchimp, you will need to provide the information below.
1. Name
2. Email address
3. Background of your organization
4. Organization name
5. Website URL
6. Physical address
Once you have provided all the necessary information, you will get prompted to log into your new MailChimp account.
How to verify your email domain
Go to your dashboard and follow the steps below:
Step 1: Click the icon that says “website”
Step 2: Click “Domains”
Step 3: Click “Add & Verify Domain” in the Email Domains section
Step 4: Enter your email address and click “Send Verification Email”
Step 5: Click “Verify Domain Access” in the email or key in your verification code in the pop-up in your account and click “Verify”
Step 6: Close the pop-up, click done, and return to your Domains Overview page
How to authenticate domain in Mailchimp for email marketing
Before you begin authenticating your domain, you would need one first. If you do not have one, you can purchase it from Mailchimp.
Ensure that your domains are both verified and owned by you or your organization when you send emails out or if you intend to use a subdomain, ensure that it is verified separately from your domain.
Alternatively, you can use free email providers such as Gmail, Yahoo, or AOL to send emails from Mailchimp. Bare in mind that you are unable to authenticate them, however. You may refer to this guide on the limitation of free email addresses.
Steps to authenticate your domain:
Step 1: Click the icon that says “website”
Step 2: Click “Domains”
Step 3: Click “Start Authentication” next to the verified email domain you want to work with.
Step 4: Select your domain provider from the dropdown options and click “Next,” but if your service or software is not appearing, choose “Other.”
Step 5:Use a separate window or tab and go to your domain provider’s website to find domain’s DNS records. Then go back to Mailchimp and click “Next”.
Step 6: Create a new CNAME record, copy the values, and paste them into the fields for your domain.
Step 7: After filling in all the crucial information, click next, and you’re good to go!
Importance of authenticating your domain

To help filter malicious users and spam, Inbox Service Providers (ISPs) such as Gmail, Yahoo, Hotmail, and many others need to ensure that emails sent to their users are legitimate. This is why it is crucial to authenticate your domain.
How to manage deliverability or inboxing with Mailchimp

Although Mailchimp is already doing most of the heavy lifting in that aspect, there are a few things you can do to make sure your email lands in the inbox of your contacts.
Deliverability is a crucial part of your email marketing success and as such must be paid close attention to. Here are some steps you can take to improve your deliverability.
1. Verify and authenticate your domain
Your audience needs assurance that you really are who you say you are.
2. Ensure your list is of good quality
Avoid adding any Tom, Dick, and Harry to your email list. Only add people who want to or have actually agreed to want to receive your emails.
Having people on your list who do not want to hear from you could severely damage your sending reputation.
3. Reputation
To make sure you are on the right track, here is how you can measure whether you have a good reputation:
- Your emails get opened
- Your emails get read
- They get scrolled to the bottom
- They get clicked on
- They get engaged with
- They get forwarded
- They get whitelisted (people really want to hear from you)
- It loads quickly
- Do not get opened
- Gets deleted immediately
- Have a high unsubscribe rate
- Have a high bounce rate
- Have a high spam complaint rate
4. Content
Be sure your content is well thought out and relevant to your brand. Avoid the following:
- Using spammy words
- Including links to suspicious websites
- Bombarding your audience with “BUY MY STUFF” messaging
Keep your emails relevant, sweet, and to the point.
5. Testing
Send yourself a test email and see if it lands in your inbox or spam. This is an excellent indicator to see if it will do the same when you send it to your list. You could also use these free tools to check your emails.
How to upload your email list on Mailchimp
Items to take into consideration before you start the process of uploading your list:
- Start with a blank spreadsheet using either Microsoft Excel or Google Sheets, saved or exported as a comma isolated value (CSV) file.
- Read Mailchimp’s format guidelines before importing your files as specific fields like birthday and date must be formatted in a specific way.
- In Mailchimp, you can classify your contacts depending on their status or the tags they are part of. So make sure you know the status of new imports or tags you need to apply to them.
- Be careful not to exceed your contacts limit as you may be subjected to additional charges.
Before uploading/importing your list, you need to prepare the CSV file first. To do that, follow this step-by-step guide below.
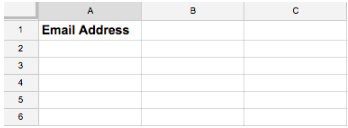
Step 1: Open your blank worksheet in Excel or Google Sheets
Step 2: Create a column and label it as Email address
Step 3: Create additional columns such as first name, last name, and whatever information your require
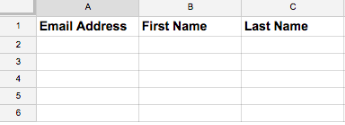
Step 4: Paste all the information you need in the spreadsheet
Step 5: Save the file in a CSV format
Begin import to Mailchimp
Start important your contacts to Mailchimp with the steps below.
Step 1: Go to the “Audience” icon and click
Step 2: Click “Audience dashboard”
Step 3: Click “Upload file” and “Continue to Upload”
Step 4: Click “Browse” and select your CSV file
Step 5: Click “Continue to organize”
Step 6: Select the type of audience you want to import
Step 7: Select the status of the contacts you are importing
Step 8: Group your audience
Step 9: Check the box that says “Update any existing contacts” if you feel that some are already in your audience
Step 10: Click “Continue to tag”
Step 11: Assign the tags and click “Continue to match”
Step 12: Fill in the required fields
Step 13: Click “Finalize Import”
Step 14: Click “Complete Import” once you have finalized everything and you are done!
How to send your first email marketing campaign with Mailchimp
Ahhh… The most exciting part! Now that you have gone through the checklist and ensure everything is set up correctly, you are now ready to send out your first email campaign.
Remember that every campaign content should be relevant, fun, and provide value.
1. Go to the campaigns page
2. Click “create an email”
3. Click on the “Regular” tab and key in your campaign name and select a list,t then click “begin”
4. When you reach the “Recipients” step, choose a list and click “next”
5. Once you have reached the “Setup” step, fill in your subject line, preview text, from name, and from email address
6. Select your tracking tools and connect your social media platforms in this step
7. Choose your template and input your customized campaign content
8. When you have finalized your design, click “next,” It will take you to the confirm page, where it will show all the steps you have completed and alert you if anything is missing before you send the email.
PS: You can always reschedule or set your email to go out at a later time or date instead of sending it right away
Conclusion
There you have it! Use this Mailchimp guide to get started with Mailchimp and send engaging emails to your audience.
Although this guide covers the bulk of the features within Mailchimp, there are plenty of other things to explore so I will be back with more blogs to touch on those soon.