Let’s Set Up iRedMail – a Full-Featured Mail Server on Ubuntu 18.04, secure it with Letsencrypt SSL certificates and configure Thunderbird
Key points :
- What is iRedmail server
- Requirements for iRedmail server
- How to configure host name
- iRedmail Server configuration in Ubuntu
- Installation of Let’s Encrypt SSL Certificate
- Configuring Thunderbird to send/receive emails
What is iRedmail Server
iRedMail is an Open Source full featured mail server solution which can save a lot of your time on complex configurations, it has support for all major Linux distributions and ships with the following Linux packages.
- Postfix: SMTP service – default MTA
- Dovecot: POP3/POP3S, IMAP/IMAPS, Managesieve service – default MDA
- Apache: Web server
- MySQL/PostgreSQL: Storing application data and/or mail accounts
- OpenLDAP: Storing mail accounts
- Policyd: Postfix policy server
- Amavisd: An interface between Postfix and SpamAssassin, ClamAV. Used for spam and virus scanning
- Roundcube: Webmail – default MUA
- Awstats: Apache and Postfix log analyzer
iRedMail is a free, open source mail server software that allows you to build and host your own mail server in your environment. Right out of the box, iRedMail will install all necessary components and configure a full-fledged mail server for you.
If you have a large organisation and need personal mailbox for all of your employees, or if you need mailboxes regularly for any other business requirements and if you are looking for cost effective alternatives of Gsuite and Office365 world – you can consider iRedmail.
iRedMail focuses on privacy, to make sure all your data are protected on your own servers, and the best security practices are enabled by default forcing all users to use mail services through secure connections (POP3/IMAP/SMTP over TLS, webmail with HTTPS).
This documentation explains new users how to install and configure iRedMail on Ubuntu 18.04 | 16.04 LTS servers. For more about iRedMail, please check its homepage.
Requirements for iRedmail server
To install iRedMail on Debian or Ubuntu Linux, you need:
A FRESH, working Debian/Ubuntu Linux server/VPS (We have taken Ubuntu 18.04 for this documentation purpose).
Supported releases are listed on Download page. You should either have sudo access or full root access to VPS.
At least 2 GB memory is required for a low traffic production mail server, but 4 GB is strongly recommended.
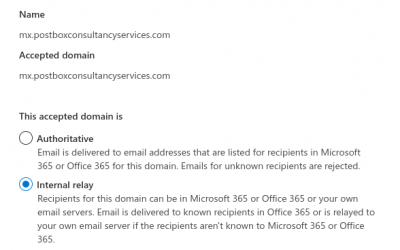
DNS Records
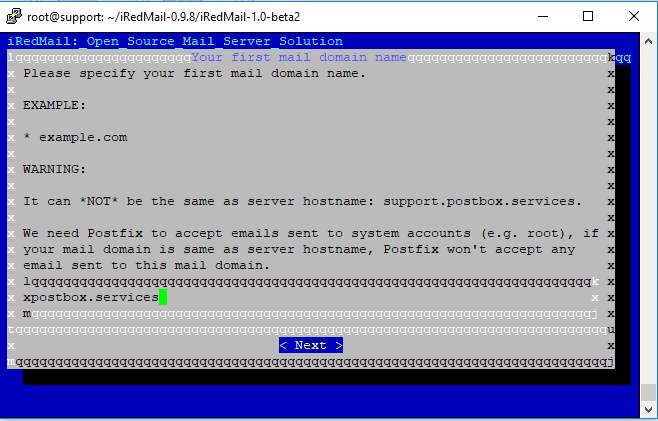
For our purpose we would be installing iRedmail to send/receive emails from domain postbox.services and sub-domain support.postbox.services. Our dashboard would be accessible on domain support.postbox.services, so we need this A record :
A record – support.postbox.services —> To your server/VPS IP address.
MX Record for postbox.services —> support.postbox.services
MX Record for support.postbox.services —> support.postbox.services
SPF (Txt) record for support.postbox.services
How to configure host name
Log into your server via ssh, and then run the following command to update existing software packages.
sudo apt update
sudo apt upgrade
Set a fully qualified domain name (FQDN) for your server with the following command :
sudo hostnamectl set-hostname support.postbox.services
Also update /etc/hosts file
hostname -f
Server configuration in Ubuntu
Ensure your server is up-to-date;
apt-get update
Once the server is updated, download the latest stable release of iRedMail from their Download page. You can simply copy the download link and run the command below to download it on the server;
wget https://bitbucket.org/zhb/iredmail/downloads/iRedMail-1.0-beta2.tar.bz2
Extract the tarball.
tar xvf iRedMail-0.9.8.tar.bz2
Then cd into the newly created directory.
cd iRedMail-0.9.8/
Add executable permission to the iRedMail.sh script.
chmod +x iRedMail.sh
Next, run the Bash script with sudo privilege.
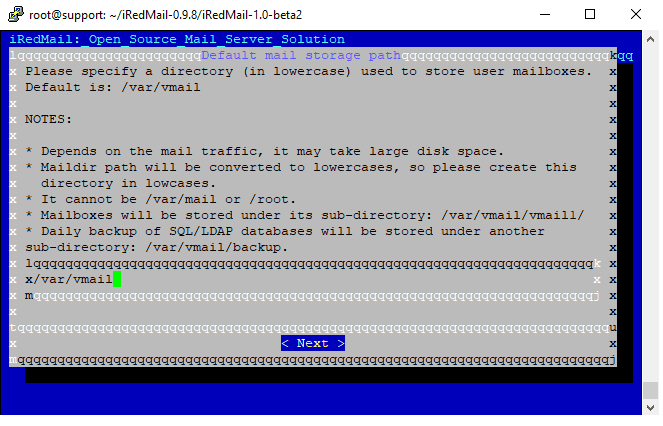
sudo bash iRedMail.sh
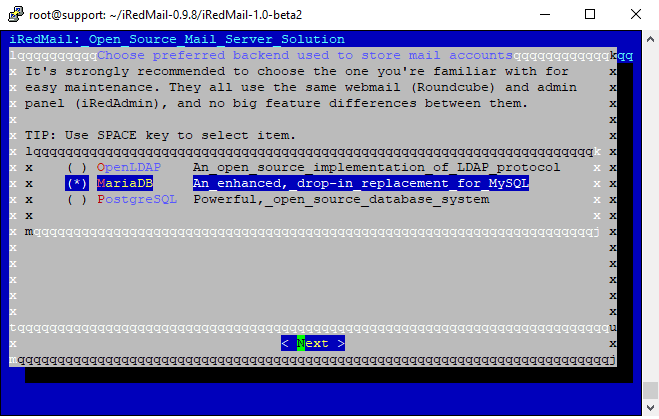
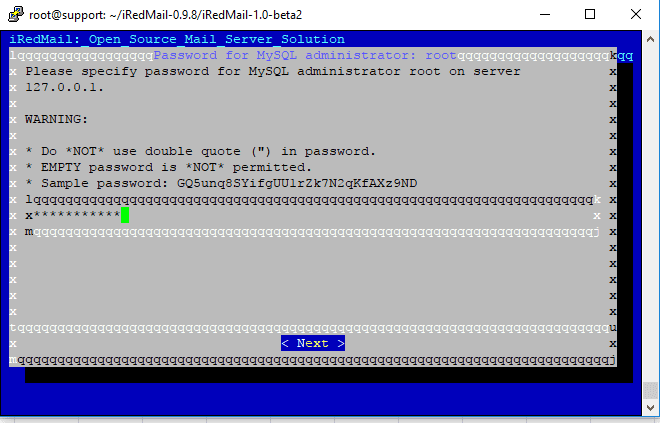
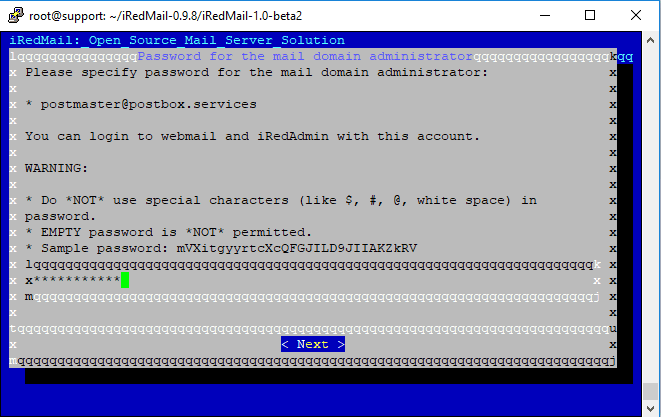
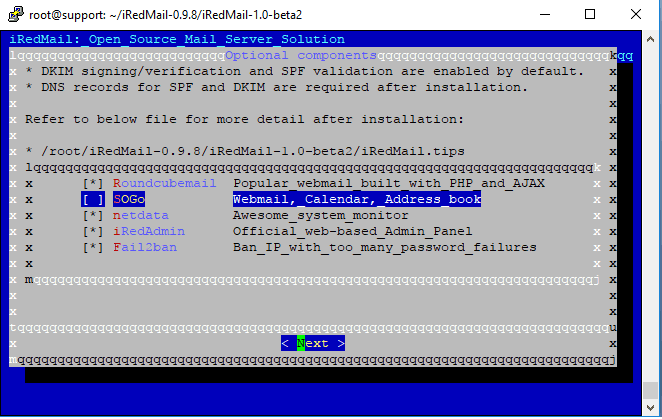
The ncurse-based setup wizard will appear. Select Yes and press Enter.

sudo shutdown -r now
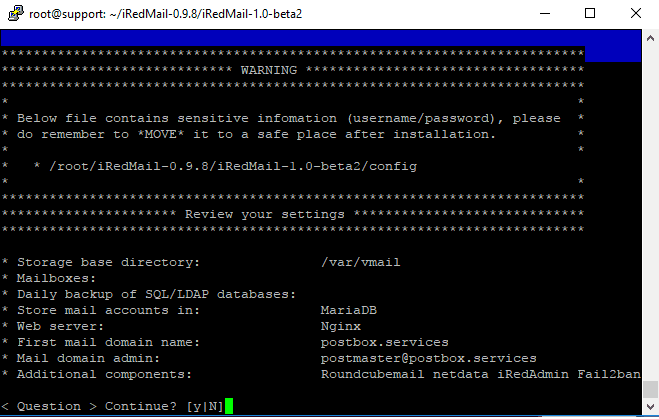
/root/iRedMail-0.9.8/config
This file contains usernames and passwords. Therefore, remove it immediately after the installation
rm /root/iRedmail-0.9.8/config
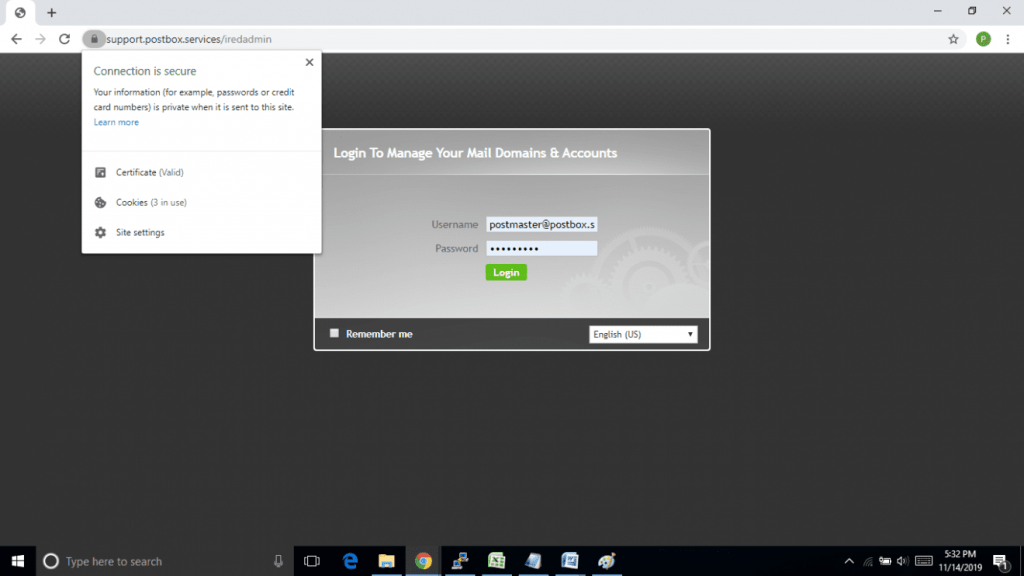
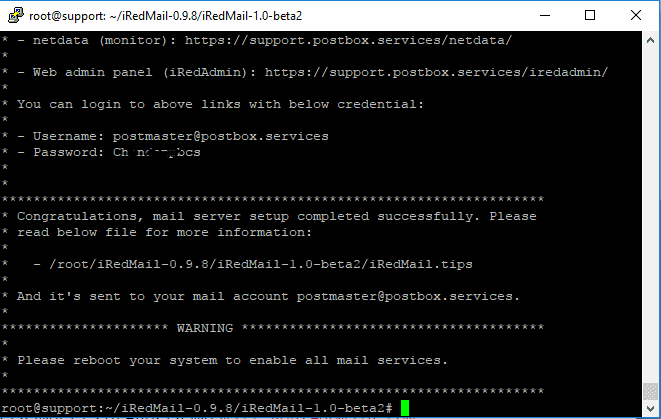
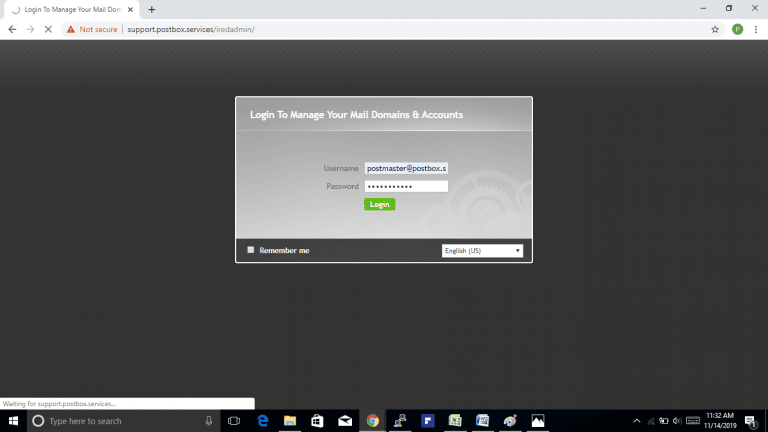
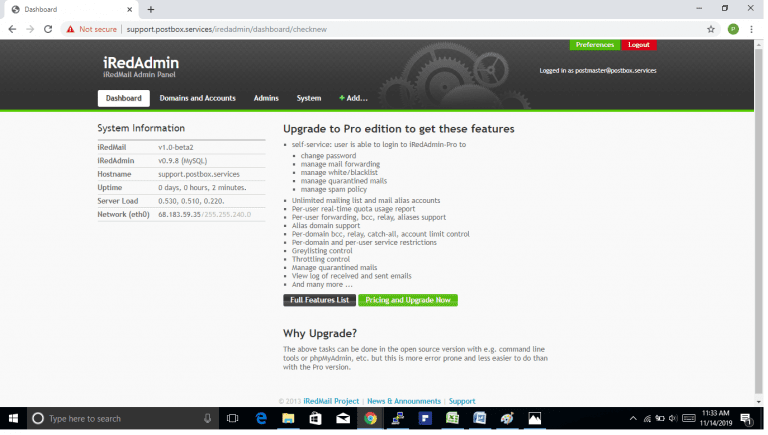
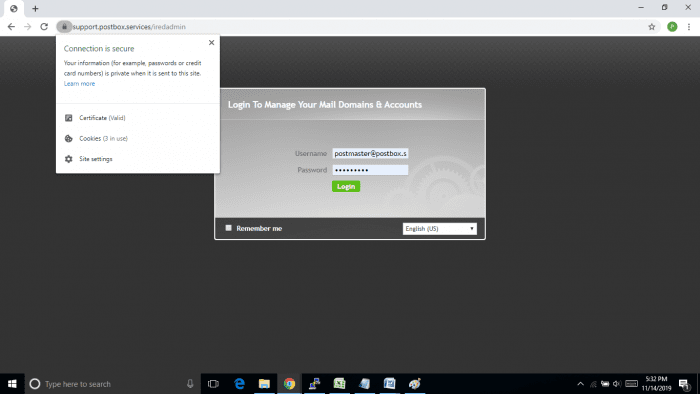
https://support.postbox.services/iredadmin (in place of these URL use your domain name )
You may encounter certificate warnings. This is because self-signed certificate is used by default. You should however consider obtaining a commercial SST/TLS certificate. We will also see in next section how you can install free Letsencrypt certificates.
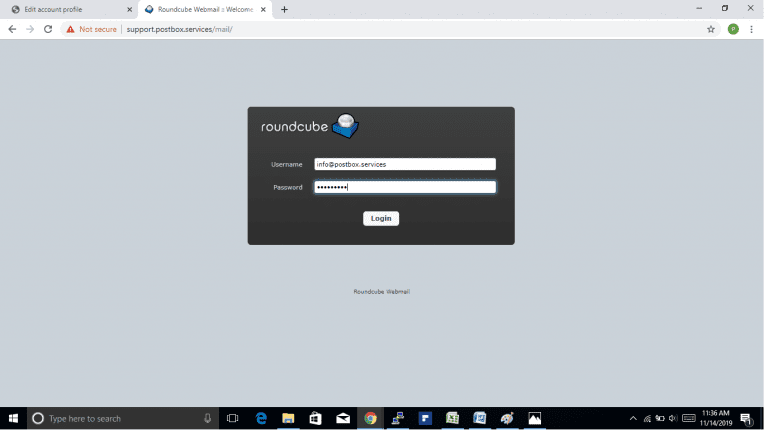
Add new user with [email protected] and password)

Login with created user [email protected]
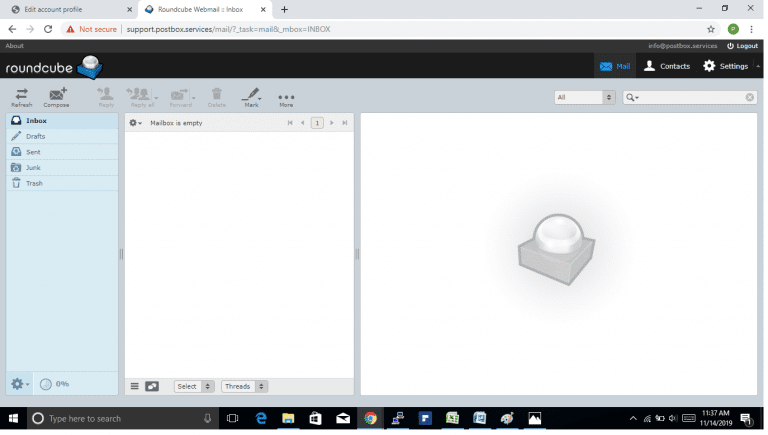
You can check your mail server with mail sending and receiving activities
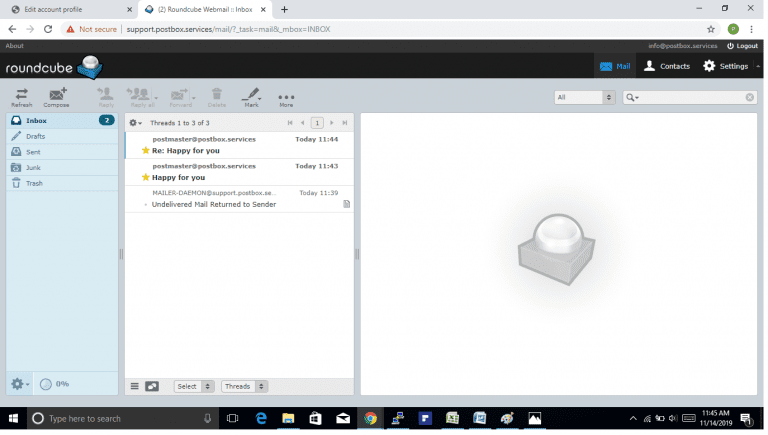
This completes the iredmail installation, configuration, addition of domains, creating mailboxes, access mailbox using Roundcube and testing with send/receive of emails.
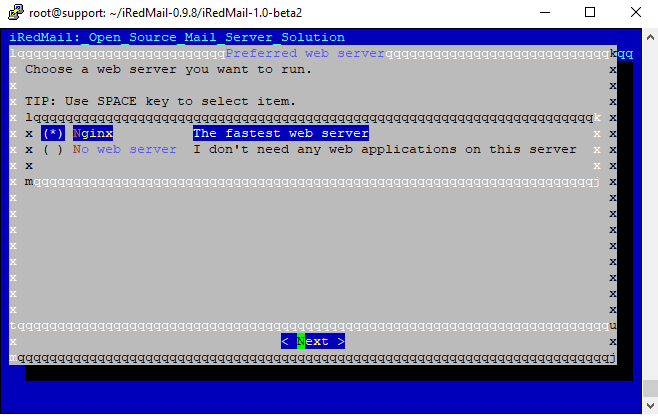
Installing Letsencrypt SSL certificates over Nginx
Over time, cases of internet related security breaches have been on the rise as hackers continue working round the clock to steal user data for malicious purposes. An SSL certificate is a digital certificate that is installed on website servers primarily for encrypting data sent between the user browser and the server so that only the intended recipient accesses it. This is crucial because, without encryption, information is sent as plain text data and can easily be intercepted by hackers.
For this reason, most e-commerce stores and online money payment platformsencrypt their websites. SSL certificate also allows for authentication and ensures that information is sent to the right server and not a hacker. Over a period of time the secured websites are important from emailing point of view. Gmail often shows non secured sites as either spamming or phishing sites.
In this article, we will look at how to secure Nginx with Let’s encrypt SSL on Ubuntu 18.04. Let’s Encrypt is a free and automated SSL provided by Let’s encrypt authority. By 2018, Let’s Encrypt had secured over 150 million websites.
Let’s gets started and see how we can secure Nginx with Let’s encrypt SSL on Ubuntu 18.04.
Prerequisites
To get started, ensure you have the following:
In this example , we are going to use the domain name support.postbox.services
Obtaining the Certificate
First, install Let’s Encrypt client on Ubuntu 18.04
sudo apt install software-properties-common
sudo add-apt-repository ppa:certbot/certbot
sudo apt install certbot
iRedMail has already configured TLS settings in the default Nginx virtual host, so here I recommend using the webroot plugin, instead of nginx plugin, to obtain certificate. Run the following command. Replace red text with your actual data.
sudo certbot certonly –webroot –agree-tos –email [email protected] -d support.postbox.services -w/var/www/html/
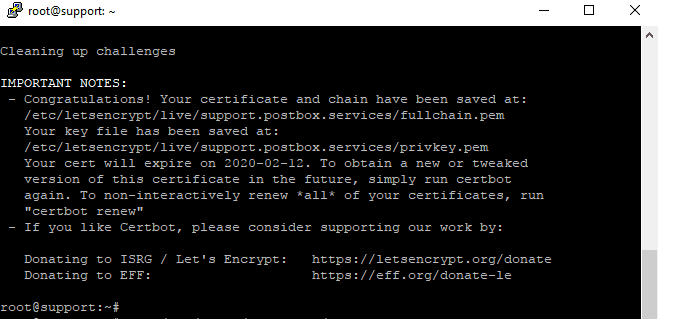
If everything went well, you will see the following text indicating that you have successfully obtained a TLS certificate.
Your certificate and chain have been saved at /etc/letsencrypt/live/support.postbox.services/ directory.
Find and Modify file name extension like this :
mv /etc/ssl/certs/iRedMail.crt{,.bak} # Backup. Rename iRedMail.crt to iRedMail.crt.bak
mv /etc/ssl/private/iRedMail.key{,.bak} # Backup. Rename iRedMail.key to iRedMail.key.bak
Run these commands :
ln -s /etc/letsencrypt/live/mail.postbox.services/fullchain.pem /etc/ssl/certs/iRedMail.crt
ln -s /etc/letsencrypt/live/mail.postbox.services/privkey.pem /etc/ssl/private/iRedMail.key
After obtaining a TLS certificate, let’s configure Nginx web server to use it. Edit the SSL template file.
sudo vim /etc/nginx/templates/ssl.tmpl
Find the following 2 lines:
ssl_certificate /etc/ssl/certs/iRedMail.crt
ssl_certificate_key /etc/ssl/private/iRedMail.key
Replace them with (please use your own domains):
ssl_certificate /etc/letsencrypt/live/support.postbox.services/fullchain.pem;
ssl_certificate_key /etc/letsencrypt/live/support.postbox.services/privkey.pem;
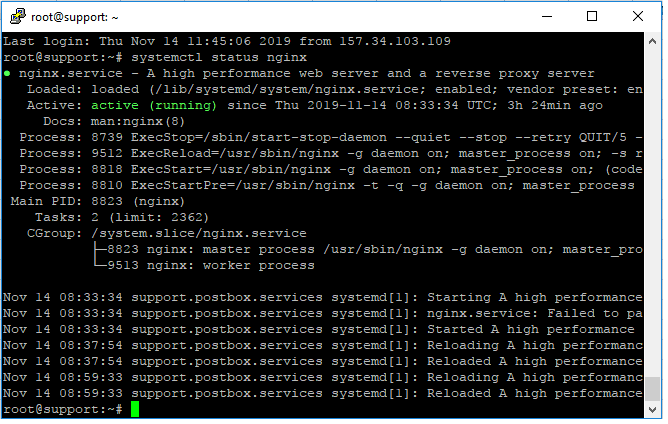
Save and close the file. Then test nginx configuration and reload.
sudo nginx -t

sudo systemctl reload nginx
sudo systemctl status nginx
Visit iRedMail admin panel again, your web browser won’t warn you any more because Nginx is now using a valid TLS certificate.
But more often than not we need to access our emails via an application on our Windows/Ubuntu desktop or on our android/iphone devices.
There are many free applications available in market and play stores. We are configuring Thunderbird for our purpose but the configuration steps would be same for most of the clients/apps.
To configure a new mail account with Thunderbird, please click menu: File -> New -> Mail Account.
Also you can direct click on the Email button .
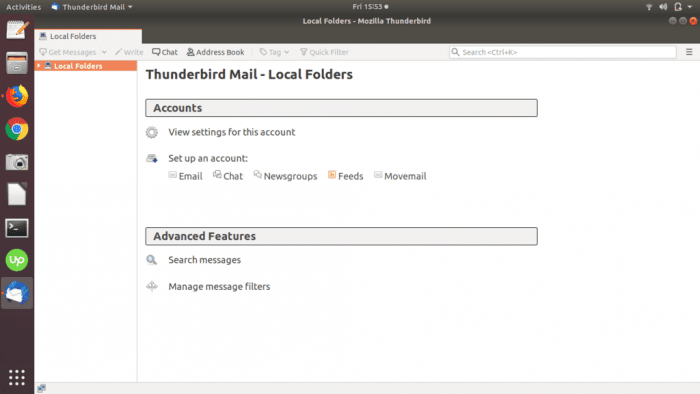
Add your name, email address and password in this screen.

It will detect IMAP and SMTP server automatically. If it does not detect please hit “Manual config” button and enter the email server hostname (support.postbox.services in our case)
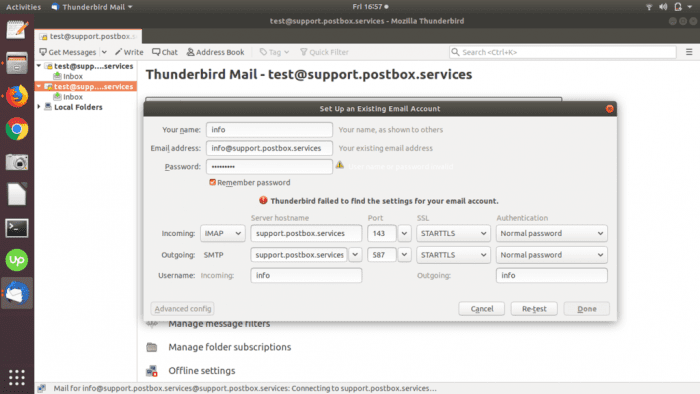
Once you enter the server name manually, hit Re-test and it would connect to the new iRedmail server.
Cheers!!. You are now ready to send/receive emails. You can add more domains and mailboxes to this iRedmail installation.
If you need any help with iRedmail please reach out to Postbox Consultancy Services.